As you can see to the right, one of my "upcoming projects" is laying tile. I'm planning to rip out the old hideous linoleum in the kitchen and entry way and replace it with some nice looking ceramic tile. I was ecstatic to start this mission...until I found out how much work is involved! I thought you could just slap on the new tile with some special glue and voila!...you've got yourself a new fancy looking kitchen floor. Wishful thinking. After talking to several tile installation veterans, I learned that it was going to be a bigger project than I thought. First, you have to remove the linoleum (no problem, I can handle a crowbar!). Then you have to lay down Wonderboard, which are 1/2" thick sheets of cement based material used as a backing for the tile. Of course, there will be another saw involved to cut through the Wonderboard because it naturally won't fit perfectly, but that's OK because I've come to realize that I actually like using power saws. After drilling the Wonderboard down, you're ready to start laying the tile. This is going to be the fun part! First, you should plan out how you're going to lay the tile. You'll have to cut some of them with a wet tile saw. Jeez, how many types of saws do they make anyway? It seems like you need a different saw for every little thing you do; someone should really invent an "all-purpose" saw that can be used for ALL home improvement projects. Sorry, I digress...where was I? Oh yes, so once your tiles are ready, you have to mix the thinset (adhesive) and spread it on top of the Wonderbread, I mean board. I've also heard that you can spread it on the tiles individually so you don't get frantic and worried about it drying out too fast if you're slow at laying tile. I think I will choose this option. You also have to put down 1/4" spacers in between each tile for the grout. Once the floor is tiled, you can fill in the space with grout. Then all that's left is grout sealer and the curing process, which is basically spraying the grout with water over the next couple days. I hear this part isn't necessary but probably a good idea to preserve the life of the tile, so we'll see how ambitious I am. Whew! I actually feel better after writing out all the steps although you are probably bored out of your mind by now. All I have to say is that I'm very thankful to know people who know about this stuff (and have tools).
Looks like I'm going to have another fun shopping extravaganza at the HD on Friday night, maybe I can make a new friend in the tile section this time. If any of you have tips to share on this project, I'd love to hear them! And Jeff, if you are reading this, I apologize in advance for the big mess I'm about to make of the kitchen. Brace yourself!
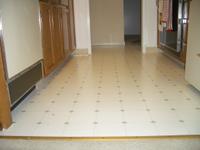
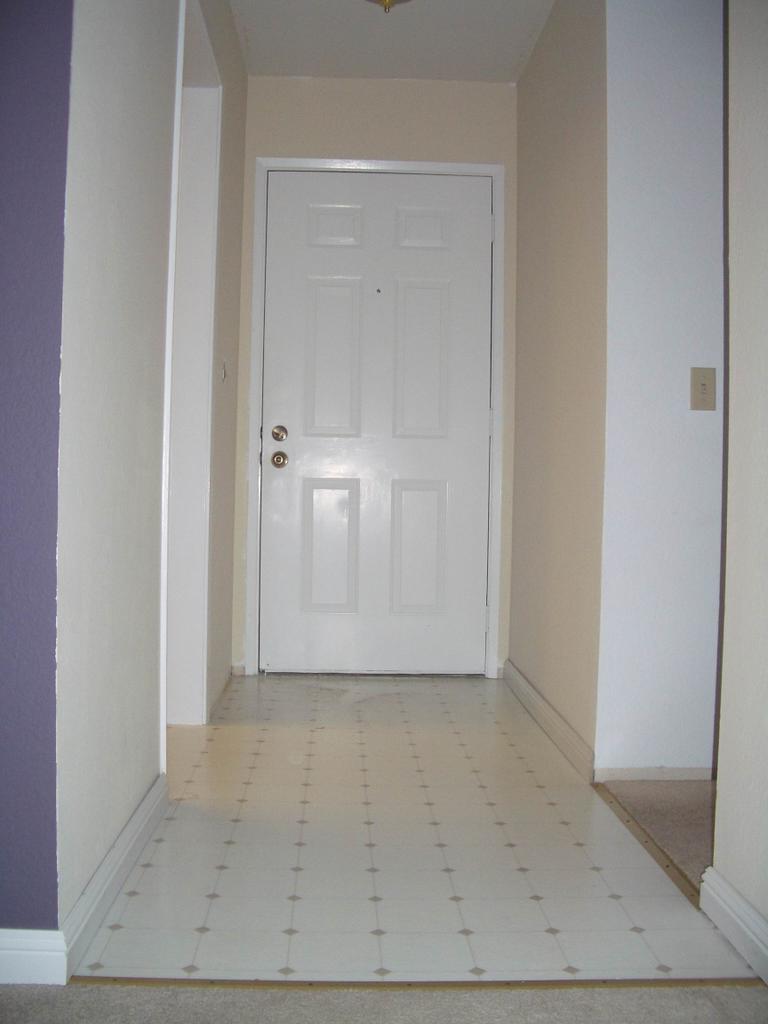
Here are before pictures of the kitchen/entry way floor.


No comments:
Post a Comment