
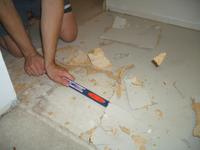
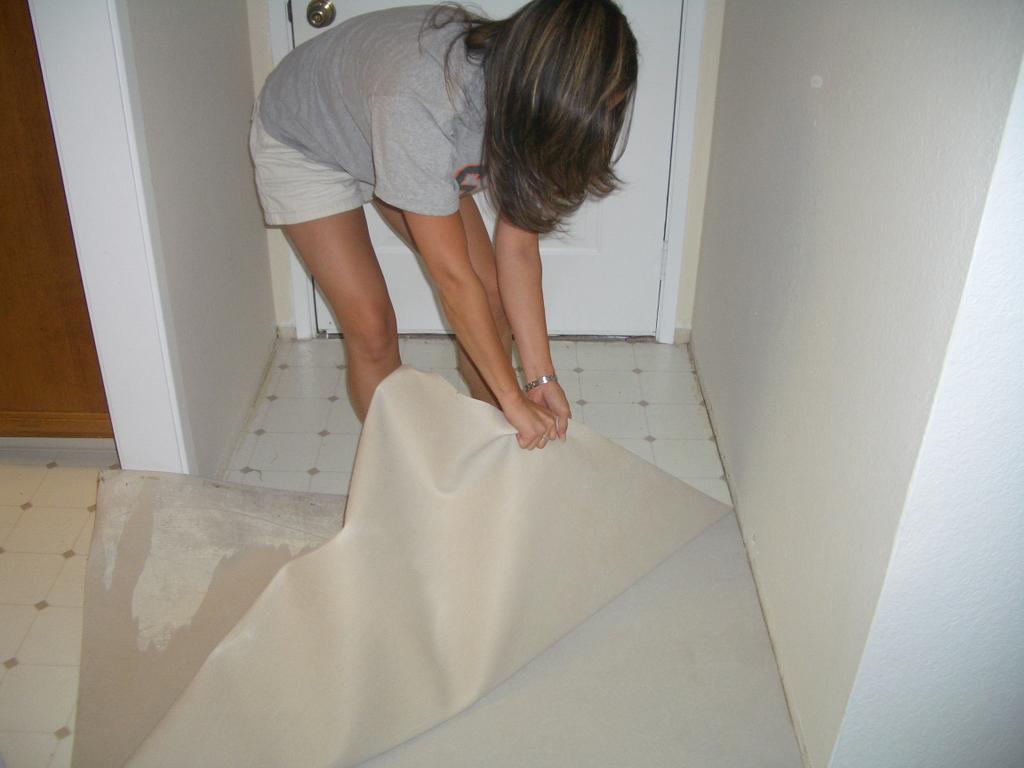
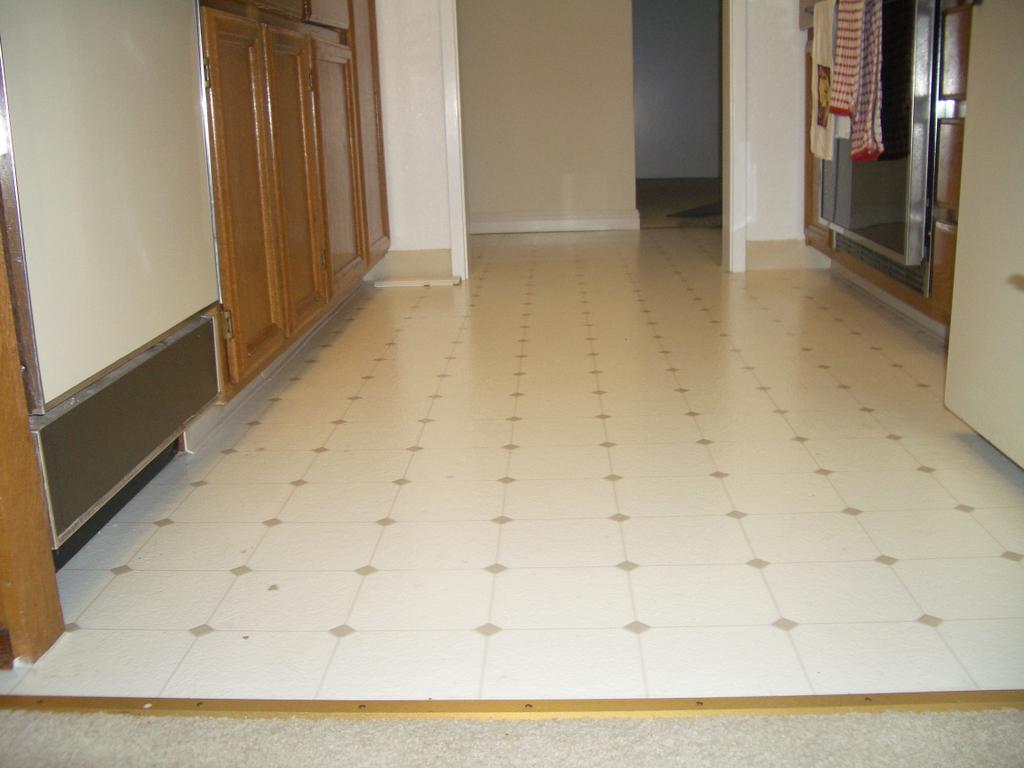
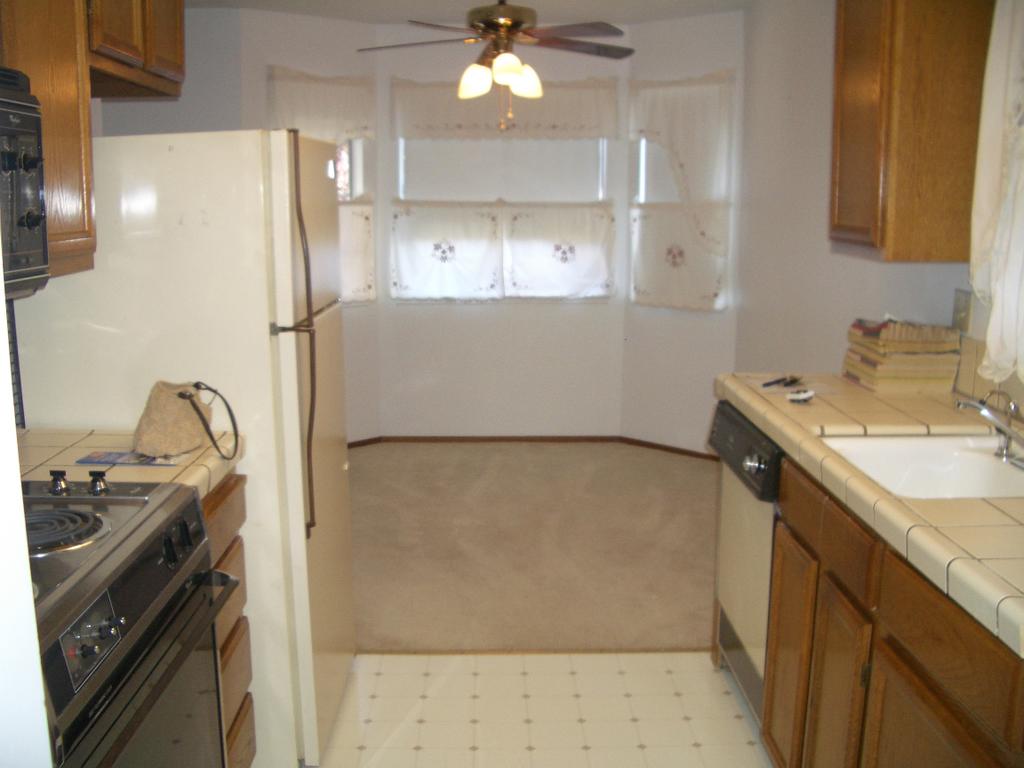
In preparation for tile day, I started ripping out the linoleum tonight with the help of my nice roommate Jeff. I have a newfound respect for those who have careers in manual labor. Maybe I'm a wimp but after about a measly hour and a half of work, I had endured my fair share of pain and suffering along with battle wounds: 4 scratches on my legs, blisters on my fingers, a sore bum from accidentally sitting on the crowbar, and a backache. Poor Jeff even had a bloody scrape on his knee. I'm such a horrible "landlord", putting him to work and making him live in such a

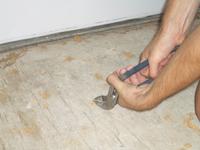
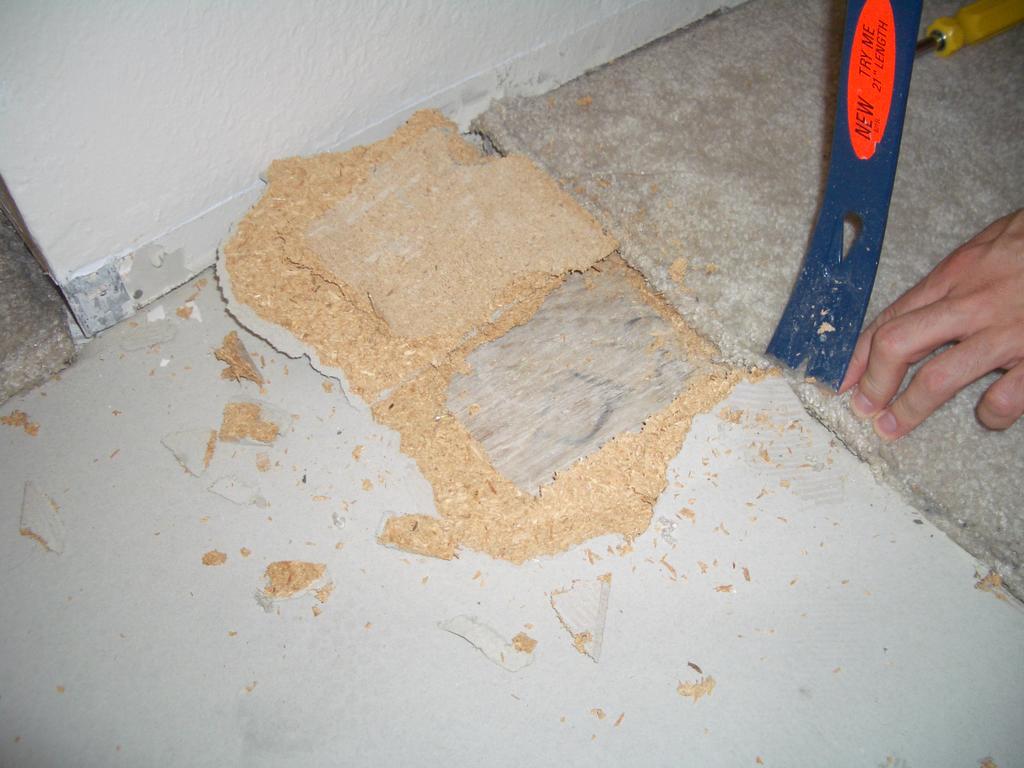
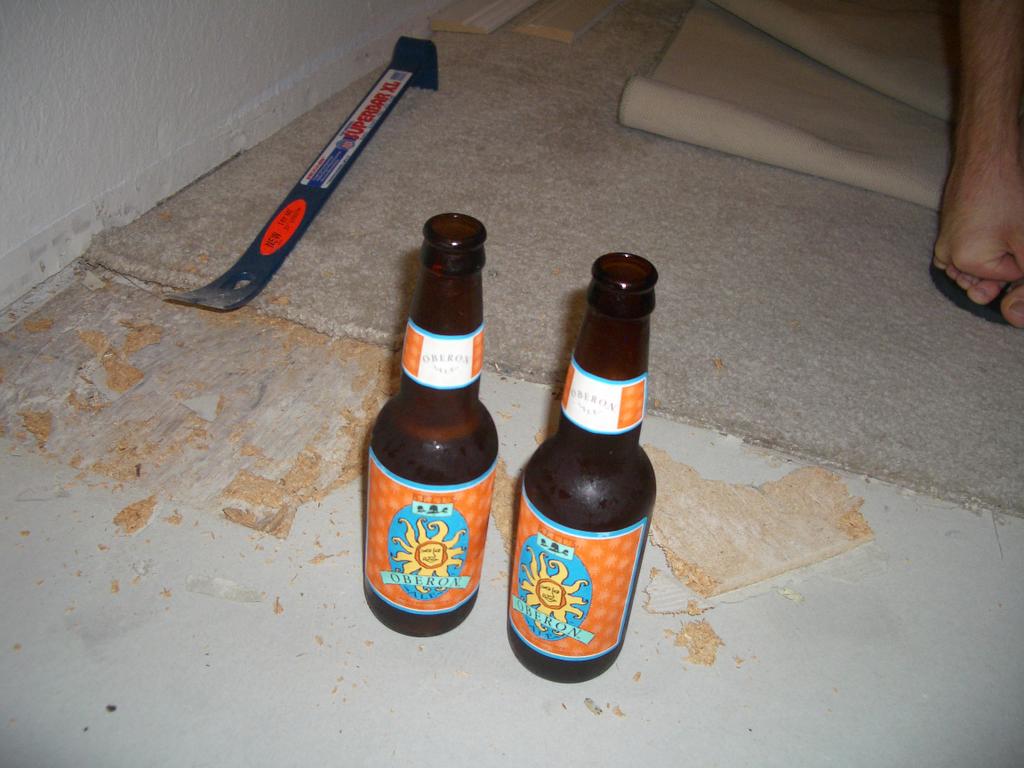
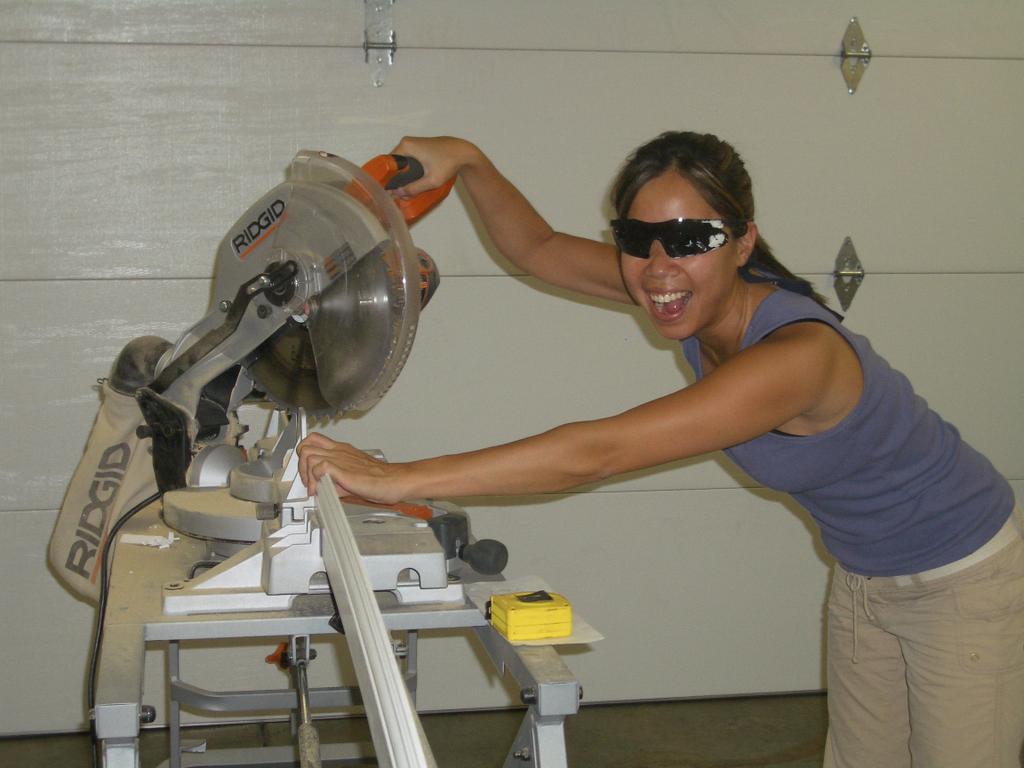
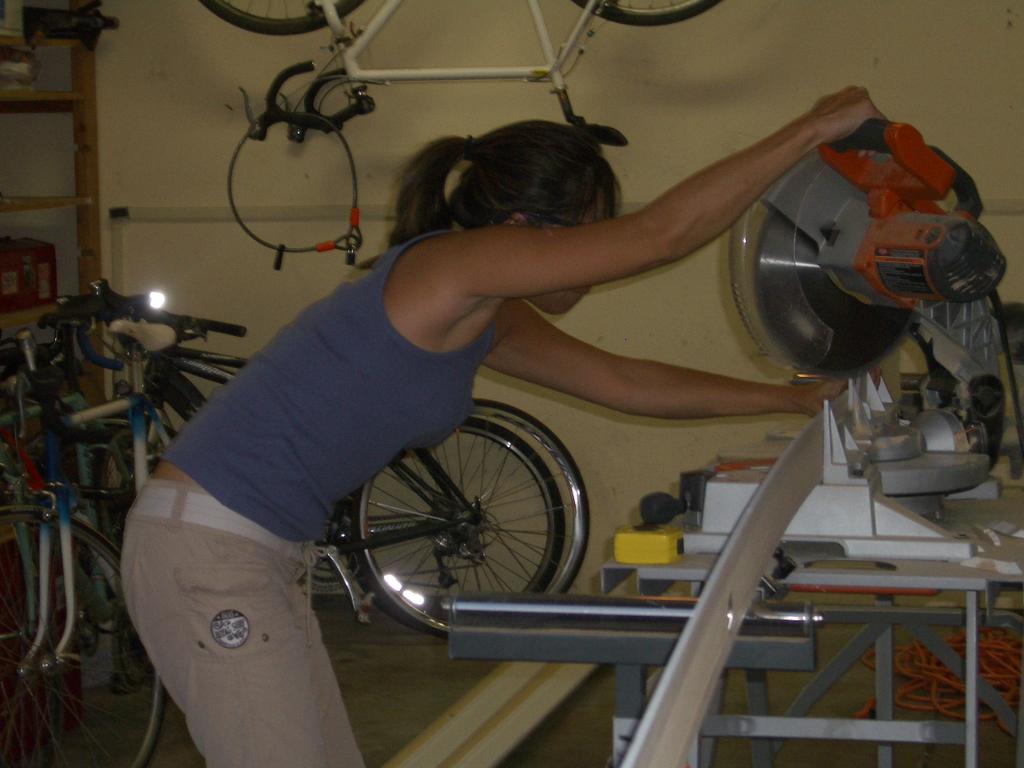
dangerous, messy habitat. I didn't realize how many layers of crap were covering the floor - linoleum from circa 1996, underlayment, linoleum from 1985, and plywood backerboard (or whatever it's called). It was fun and relatively easy to tear off the first 3 layers, but prying off the plywood backerboard proved to be a difficult task. We spent the majority of our time attacking the stubborn plywood with various tools and forms of demolition - crowbar, hammer, screwdriver, pounding, kicking, prying...you name it, we tried it. Don't worry, I made sure my downstairs neighbor Mark wasn't home while all of this was happening. I had to take a break - I was hot, sweaty, and tired. While sipping a Michigan

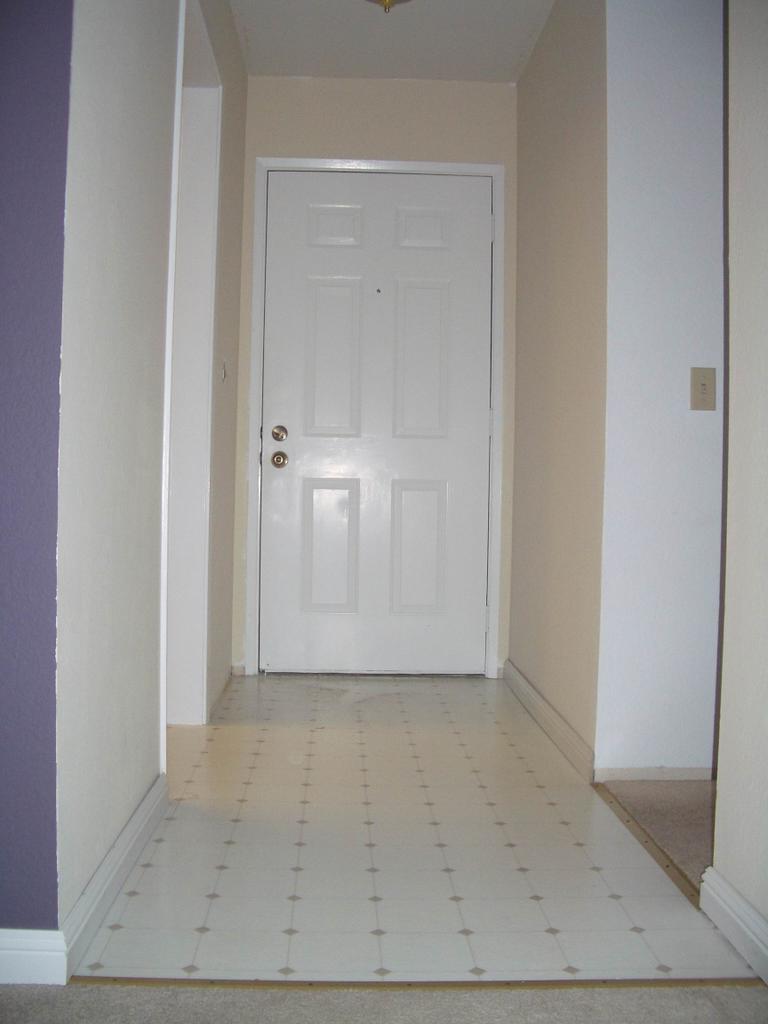
beer and wiping sweat off my forehead, I stepped back to take a look at what I had done to my floor and wondered if I was doing the right thing. Maybe the linoleum wasn't so bad
afterall. Oh well, too late now. Back to work on the plywood. After further digging, it turned out that the sheets of wood were stapled down with one inch hefty industrial strength staples...no wonder it was so tough to break through. Excellent, those will be a joy to pull up. We managed to finish taking out the plywood in the entry way, but decided to stop since there is a noise ordinance for the condo complex and it was getting late. Plus, we didn't want for our neighbors to hate us, afterall we are still newbies.


 In preparation for tile day, I started ripping out the linoleum tonight with the help of my nice roommate Jeff. I have a newfound respect for those who have careers in manual labor. Maybe I'm a wimp but after about a measly hour and a half of work, I had endured my fair share of pain and suffering along with battle wounds: 4 scratches on my legs, blisters on my fingers, a sore bum from accidentally sitting on the crowbar, and a backache. Poor Jeff even had a bloody scrape on his knee. I'm such a horrible "landlord", putting him to work and making him live in such a
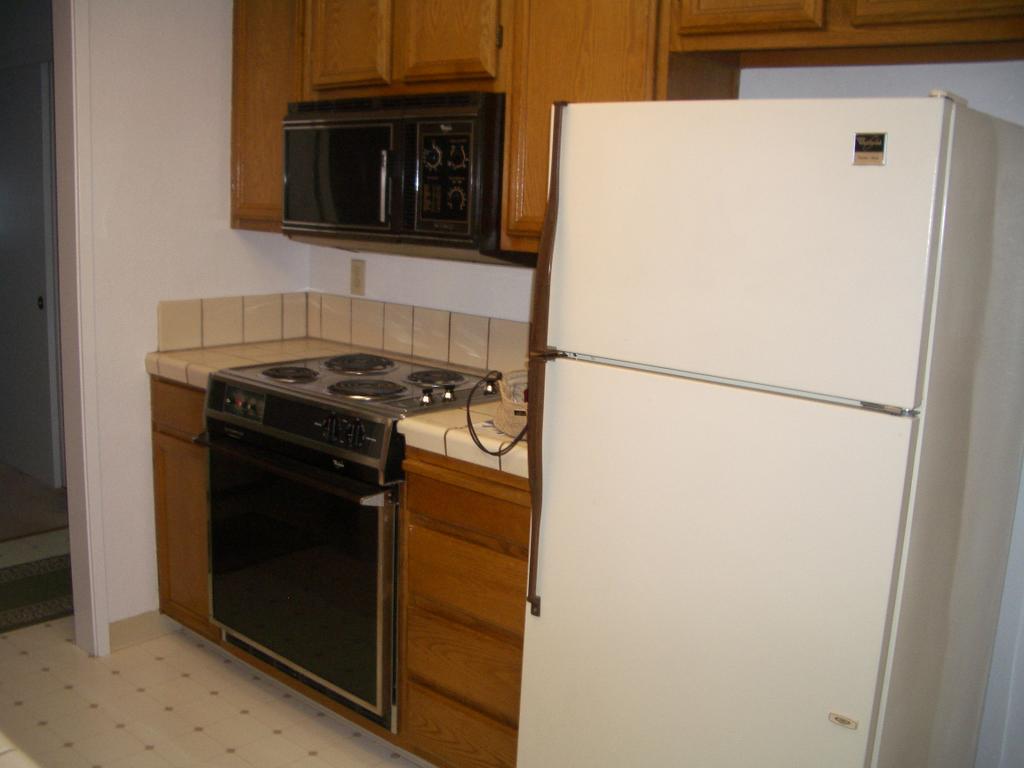
  dangerous, messy habitat. I didn't realize how many layers of crap were covering the floor - linoleum from circa 1996, underlayment, linoleum from 1985, and plywood backerboard (or whatever it's called). It was fun and relatively easy to tear off the first 3 layers, but prying off the plywood backerboard proved to be a difficult task. We spent the majority of our time attacking the stubborn plywood with various tools and forms of demolition - crowbar, hammer, screwdriver, pounding, kicking, prying...you name it, we tried it. Don't worry, I made sure my downstairs neighbor Mark wasn't home while all of this was happening. I had to take a break - I was hot, sweaty, and tired. While sipping a Michigan
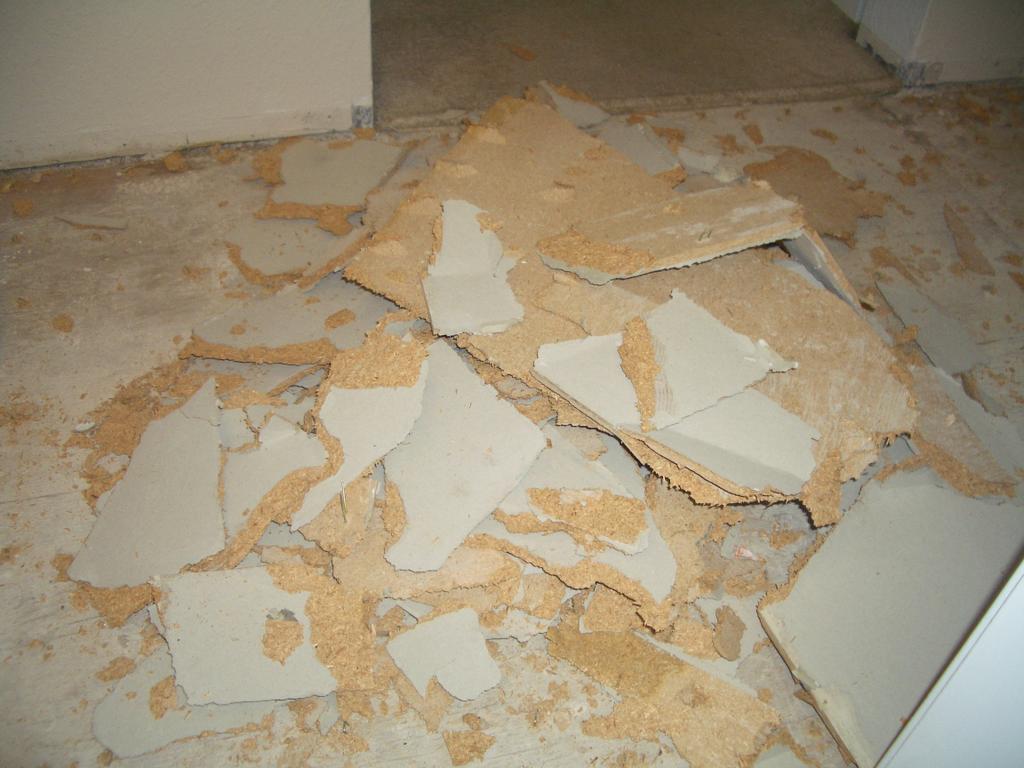
 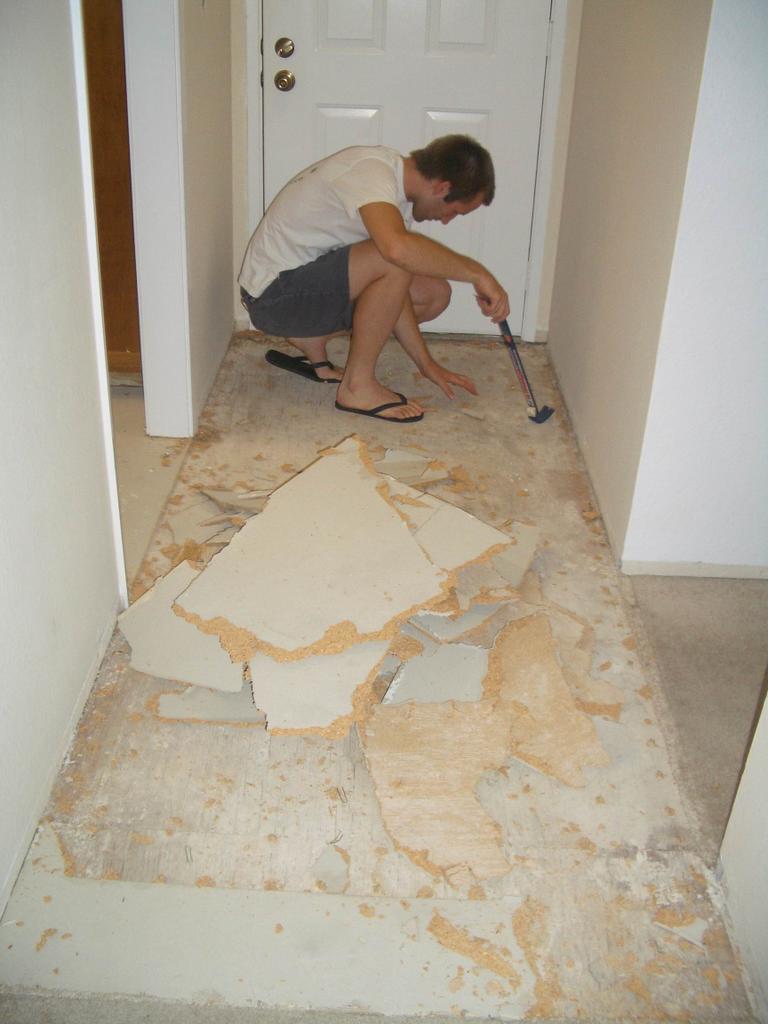 beer and wiping sweat off my forehead, I stepped back to take a look at what I had done to my floor and wondered if I was doing the right thing. Maybe the linoleum wasn't so bad afterall. Oh well, too late now. Back to work on the plywood. After further digging, it turned out that the sheets of wood were stapled down with one inch hefty industrial strength staples...no wonder it was so tough to break through. Excellent, those will be a joy to pull up. We managed to finish taking out the plywood in the entry way, but decided to stop since there is a noise ordinance for the condo complex and it was getting late. Plus, we didn't want for our neighbors to hate us, afterall we are still newbies.
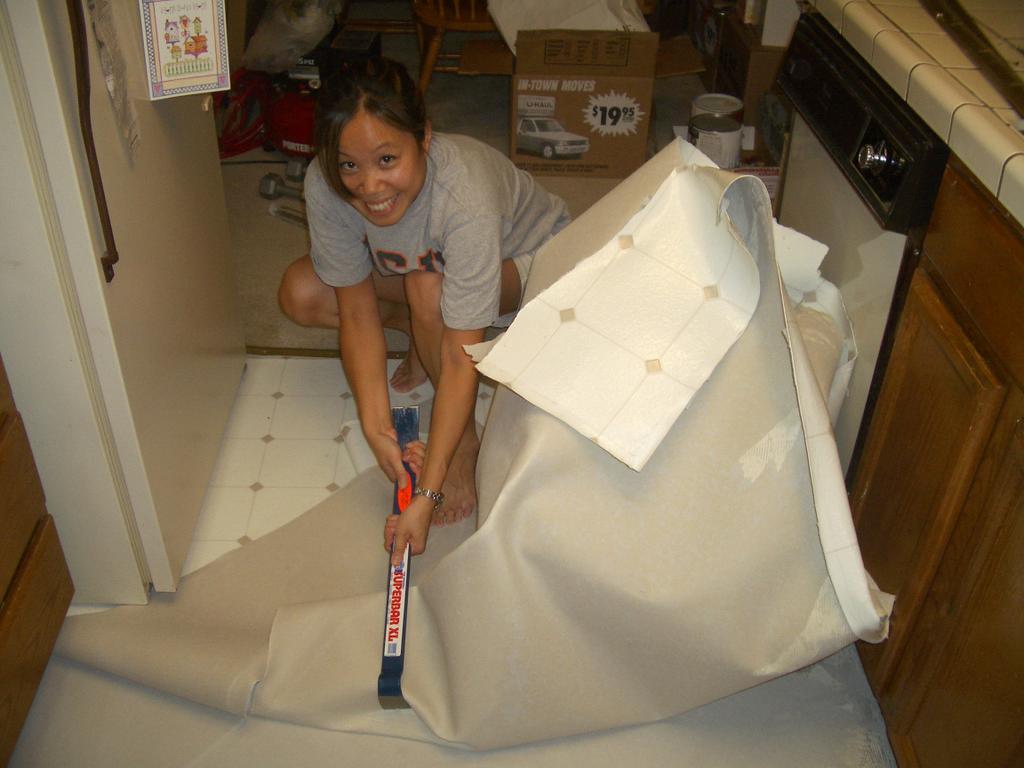


